 how-to
How to Install Window Tint on a Car: 8 Steps That Work
Quick Summary
Window tint installation means cleaning both sides of the glass, measuring and cutting the film oversized, then applying it with soapy water and a squeegee. Most failed jobs come from skipped prep work, since film sticks to clean glass, not to dust. Work in a closed, dampened space and shrink curved rear film with heat before application.
- Gather all tools before opening the film to avoid trapped dust.
- Clean both sides of every window and dry the glass completely before measuring.
- Cut film about half an inch larger on every side, then trim after application.
- Use a heat gun on low to shrink film that must fit curved rear windows.
- Keep windows up for three to five days, longer in cool or damp weather.
Table of Contents
- How to Install Window Tint on a Car: 8 Steps That Work
- Tools and Materials You Need for Window Tint Installation
- Preparing a Clean Work Environment for Tint Installation
- How to Install Window Tint Film on a Car: Cleaning and Measuring
- Applying the Film: Soapy Solution, Release Liner, and Squeegee Technique
- DIY Car Window Tint Kit vs. Professional Installation: Time, Cost, and Results
- How Long Car Window Tint Installation Takes and How to Tint Car Windows Professionally
- Booking Your Tint Installation in Coral Springs and Common Troubleshooting
- Frequently Asked Questions
How to Install Window Tint on a Car: 8 Steps That Work
Last Updated: November 4, 2026
Window tint installation looks simple until the first bubble appears under the film. Learning the full window tint installation process before you buy a roll saves time, film, and frustration. Gitnux window tinting industry statistics roundup reports that the U.S. window tinting industry generated $2.8 billion in revenue in 2023, so demand for reliable methods is clearly high.
This guide walks through the eight steps that produce a clean result. You will learn what tools to gather, how to prepare the glass, how to measure and shape film, and how to apply it with a squeegee. Along the way, we cover why the work goes wrong and when a professional is the better call.
Here is the core idea: the film sticks to clean glass, not to dust. Most of the effort belongs before the film ever touches the window.
Tools and Materials You Need for Window Tint Installation
Gather everything before you open the film. Stopping mid-job to hunt for a utility knife is how dust ends up trapped under the adhesive.
- Window tint film, sized for each window (pre-cut or bulk roll)
- Spray bottle filled with soapy water
- Squeegee, plus a hard card for edges
- Utility knife with fresh blades
- Heat gun or hair dryer for curved glass
- Lint-free microfiber towels
- Measuring tape and masking tape
- Razor blade scraper for old film or residue
Film choice matters as much as tools. Browse the customization options available for automotive window tint film to see what fits your goals. Our guide on how to choose window tint film for your car, home or boat walks through those trade-offs in detail.
Preparing a Clean Work Environment for Tint Installation
Dust is the enemy of every window tint installation. A single speck under the film shows up as a permanent bump in the finished window.
Work in a garage or covered space with the doors closed. Wet the floor lightly, or skip sweeping entirely, because sweeping kicks dust into the air.
Keep the workspace organized. Set the film, tools, and towels on a clean table, away from the car or window. Wear a clean shirt, and tie back long hair.
How to Install Window Tint Film on a Car: Cleaning and Measuring
Clean glass and accurate measurements decide most of the result. Rush either step and the film will fight you the entire time.
Cleaning the Inside and Outside of the Glass
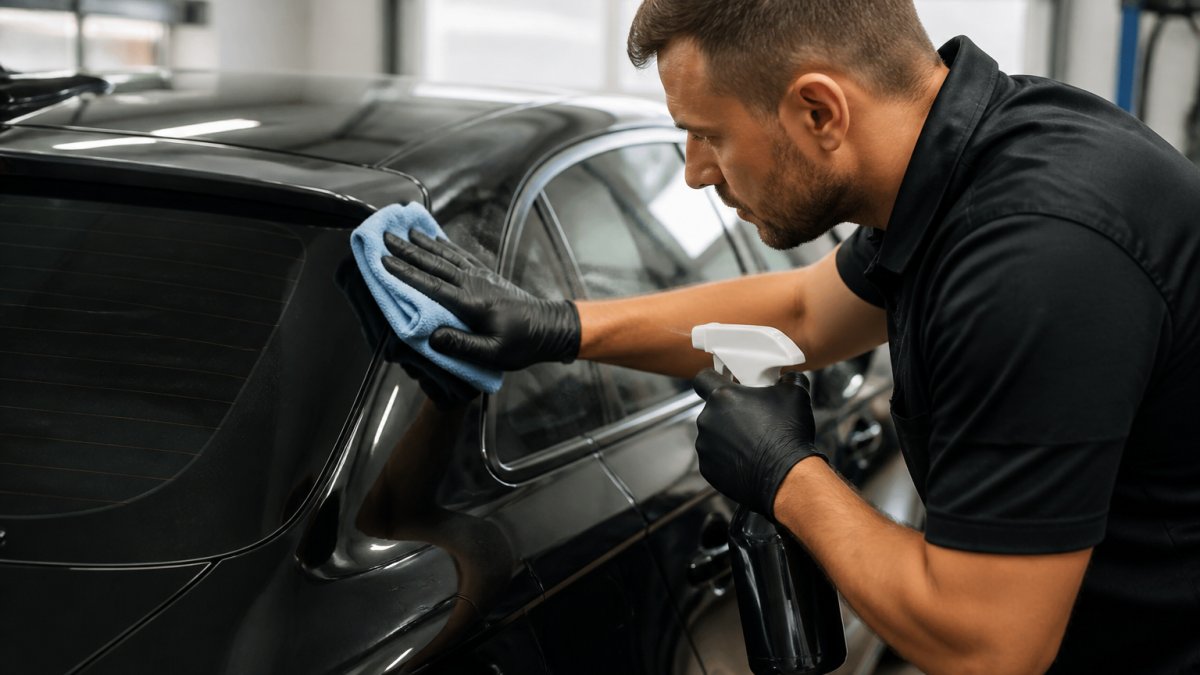
Clean both sides of every window. Spray soapy water on the glass, then wipe with a microfiber towel in one direction.
Pay attention to the edges and the seal area where the glass meets the door. Dirt hiding there will lift the film later. Dry the glass completely before you measure.
Watch out: never spray cleaner directly onto the door panel or electrical switches. Spray the towel instead, and keep liquid away from wiring.
Vehicle-Specific Glass That Changes the Process
Before you cut anything, walk the car and note the glass that behaves differently from a flat side window.
- Rear defroster lines. The grid on the rear glass is a thin conductive film. A razor blade scraper used flat and wet can shave it off, and a hard card pressed hard during squeegeeing can crease it. Work parallel to the lines, not across them, and use light pressure over the grid. A broken line shows up later as a dead strip in the defroster, not as a tint defect.
- Dot matrix (frit) bands. Many vehicles have a black ceramic dot pattern around the edge of the glass. Ask your installer how they handle this before you commit.
- Frameless and flush glass. Coupes, convertibles, and many modern sedans drop the window slightly when the door opens. That movement means the film edge must stop short of the top edge or it will catch and peel. Roll the window down an inch, set the film, then roll up to check clearance.
- Sensors and antennas. Rain sensors, lane-keep cameras, and embedded antennas often sit in or near the windshield or rear glass. Film over a sensor window can degrade calibration or reception. Check the owner's manual for no-film zones before cutting.
- Door panels and trim. Some vehicles require removing the inner door panel or the belt molding to get a clean bottom edge. That adds time and clips that can break. If the trim is brittle or the panel has never been off, that is a strong argument for professional installation.
Measuring, Cutting, and Shaping Film for Curved Windows
Measure each window from edge to edge, then add about half an inch on every side. Cut the film slightly oversized, then trim to the glass once it is applied. This leaves room for error.
Curved rear windows need heat. Warm the film with a heat gun on low, gently shrinking it to match the curve. Work slowly, checking the fit often. Overheating bubbles the film, so keep the gun moving.
Applying the Film: Soapy Solution, Release Liner, and Squeegee Technique
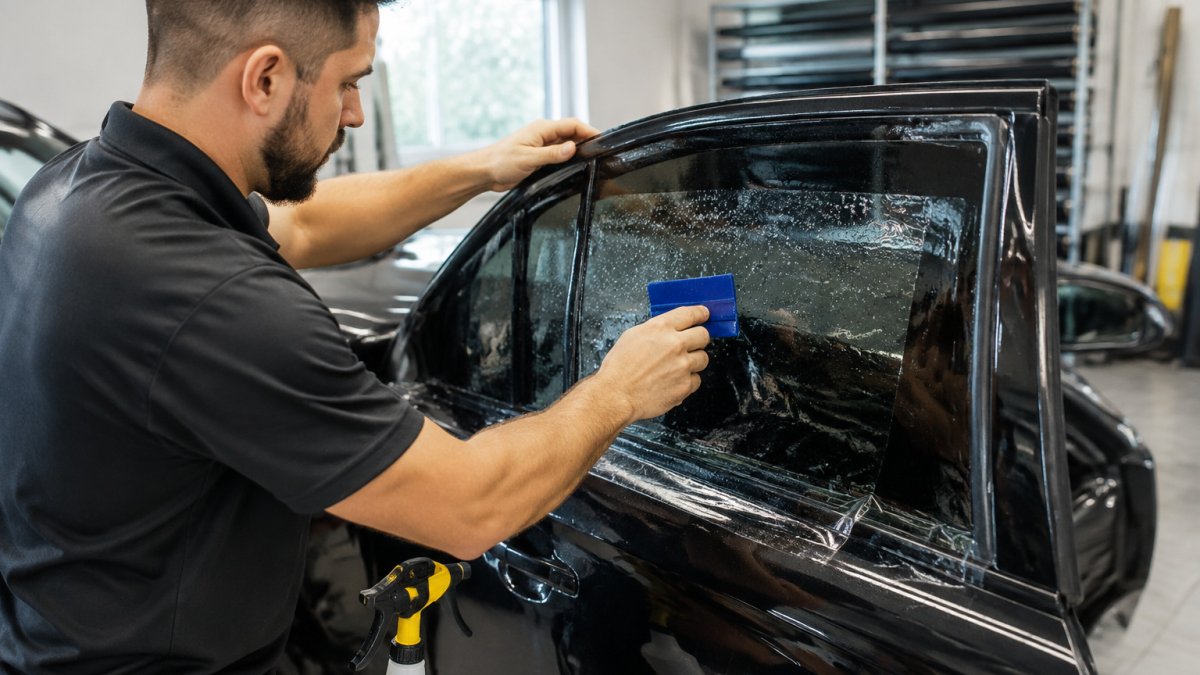
Peel the release liner slowly and spray the adhesive side generously with soapy water. Water lets you slide the film into position before it grabs.
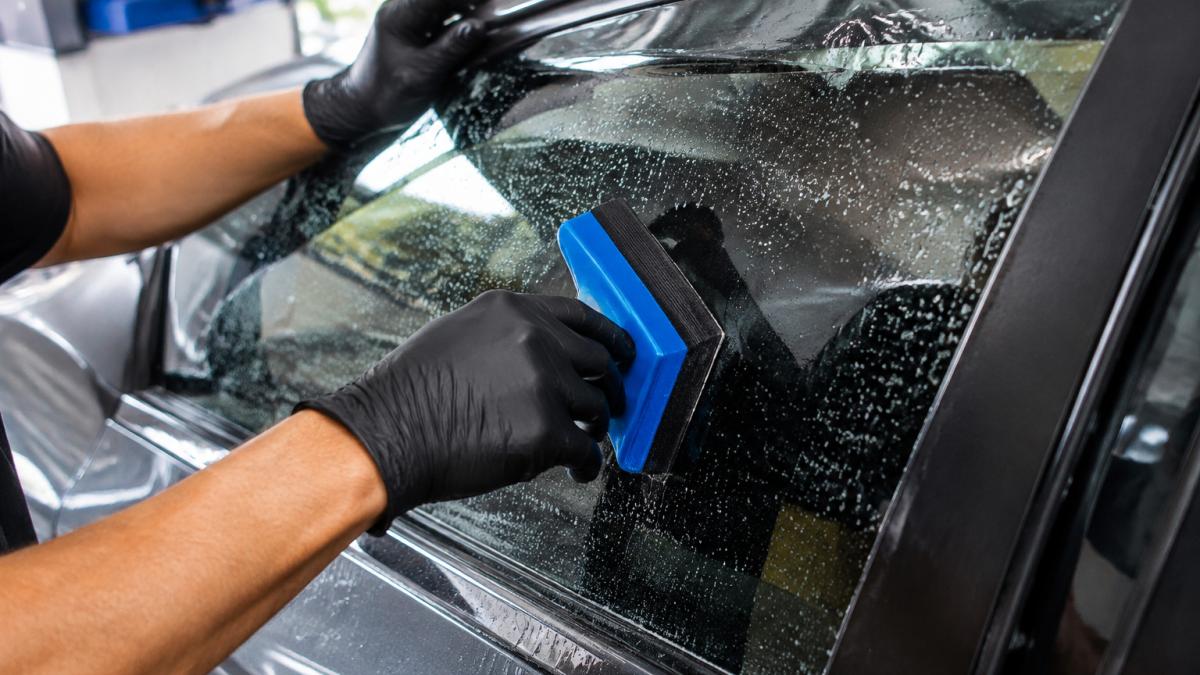
Place the film on the inside of the glass, adhesive side against the glass, and align it with your masking tape guides.
Work in overlapping strokes. Push water and air out to the edges, then use a hard card to clear the last moisture.
DIY Car Window Tint Kit vs. Professional Installation: Time, Cost, and Results
A DIY car window tint kit can save money, but it demands patience and a clean space. Professional installation costs more up front and usually finishes faster with fewer callbacks.
| Factor | DIY Kit | Professional |
|---|---|---|
| Time for a sedan | Several hours, longer for first attempts | Often same day |
| Upfront cost | Lower | Higher, varies by vehicle and film |
| Typical result | Bubbles and edge gaps are common | Clean, consistent finish |
| Warranty | Usually none | Often included |
Pricing depends on vehicle size, film type, and the number of windows, so get a quote before deciding. If a clean result matters more than saving a few hours, book professional window tinting and compare it with a DIY attempt. For local service, why choose local window tinting over a chain shop explains the difference in attention and follow-up.
How Long Car Window Tint Installation Takes and How to Tint Car Windows Professionally
Expect a DIY install to take a considerable amount of time for a full car, especially for a first attempt.
Professional tinting usually involves removing door panels on some vehicles, which adds time. Ask the shop how long your specific model takes. Good shops also explain what they use and how they check the final result.
To tint car windows professionally, look for a shop that inspects film edges, uses quality material, and stands behind its work. Ask to see past vehicles, and read recent reviews. International Window Film Association automotive visual inspection guideline notes that installed automotive film does not match glass visually, so a reputable installer will set honest expectations.
Booking Your Tint Installation in Coral Springs and Common Troubleshooting
Most tint problems are fixable early, but only if you can tell a normal curing artifact from a real defect. The difference usually comes down to what the flaw looks like and how long it has been there.
Is It Normal or Is It a Defect?
Fresh film traps water under the adhesive, and that water has to evaporate through the film. In cool or humid weather, full curing can take anywhere from a few days to a couple of weeks. During that window, some imperfections are expected.
- Normal during curing: a faint haze, small water pockets, and fine silvering near the edges. These usually fade as moisture leaves.
- Not normal: grit or hair trapped under the film, sharp creases, lift at an edge, or bubbles that grow rather than shrink. These will not cure out.
A common pattern is a customer who panics on day two over a bubble that is gone by day ten. A common pattern on the other side is a bubble that was a dust speck all along and never had a chance to clear.
Common Causes and Fixes
- Dust and contamination. Caused by sweeping, fans, or a dirty shirt. Fix: remove and reinstall in a wet-down, closed space. There is no reliable way to clean a speck out from under installed film.
- Creases. Caused by forcing curved film flat instead of shrinking it. Fix: re-shrink with heat before application; once creased on the glass, replace the piece.
- Peeling edges. Caused by film trimmed short, glass not fully clean at the edge, or rolling the window down too soon. Fix: re-trim and reseal, or replace if the adhesive has already picked up dirt.
- Persistent bubbles. Caused by too little slip solution or rushed squeegee work. Fix: small ones often disappear with curing; large ones need a pinhole or replacement.
- Streaks and squeegee marks. Caused by overlapping strokes with too much pressure. Fix: re-squeegee while wet; after curing, replacement is the only clean option.
Aftercare: The First Two Weeks Decide the Result
- Keep windows up for at least three to five days, and longer in cool or damp weather. Ask the installer for the specific window for your film and climate.
- Do not wash the inside of the glass for about a week. When you do, use a soft microfiber towel and an ammonia-free cleaner. Ammonia and abrasive pads degrade film and can cloud it over time.
- Avoid hanging suction cups, stickers, or sunshades on the film, and do not let a seatbelt retract against a tinted edge.
- Park in shade during curing when possible. Direct sun is fine, but prolonged heat right after installation can slow a clean cure.
Coral Tint serves Coral Springs and nearby South Florida communities. For film care after installation, read our guide on 7 window tint film care steps that prevent peeling. When you are ready, you can request a quote from Coral Tint for your vehicle, home, or business.
Frequently Asked Questions
Is it hard to install car tint yourself?
Installing car window tint yourself is doable on small side windows but harder on rear windows and curved glass. Most first-timers struggle with bubbles, creases, and trimming film at the edges. Plan for extra film and patience, and expect the first window to take longer than the rest. If you want a clean result on every window, a professional installer is usually the safer choice.
Do I use soapy water to install window tint?
Yes. A soapy water solution is sprayed on the glass and on the adhesive side of the film so the film can slide into position and be repositioned before it sets. Use a few drops of mild soap, such as baby shampoo, mixed with water in a spray bottle. Once the film is placed, a squeegee pushes the solution and trapped air out from the center toward the edges.
How long does a full tint job usually take?
A full car tint job typically takes a few hours for a professional, depending on the vehicle, the number of windows, and whether the rear glass is heated or curved. DIY installation usually takes much longer, especially for a first attempt. Ask your installer for a time estimate before booking. Plan to leave the car at the shop or keep the windows closed for the curing period afterward.
How long should you wait before rolling down your windows after tinting?
Most installers recommend waiting several days before rolling down newly tinted windows, and the exact time depends on the film type and the weather. Cooler or humid conditions can slow curing. Keep the windows closed and avoid cleaning the film during that period. Your installer will give you a specific time for your film.